This article may contain affiliate links, and I will be compensated if you make a purchase after clicking on my links (at no additional cost to you)
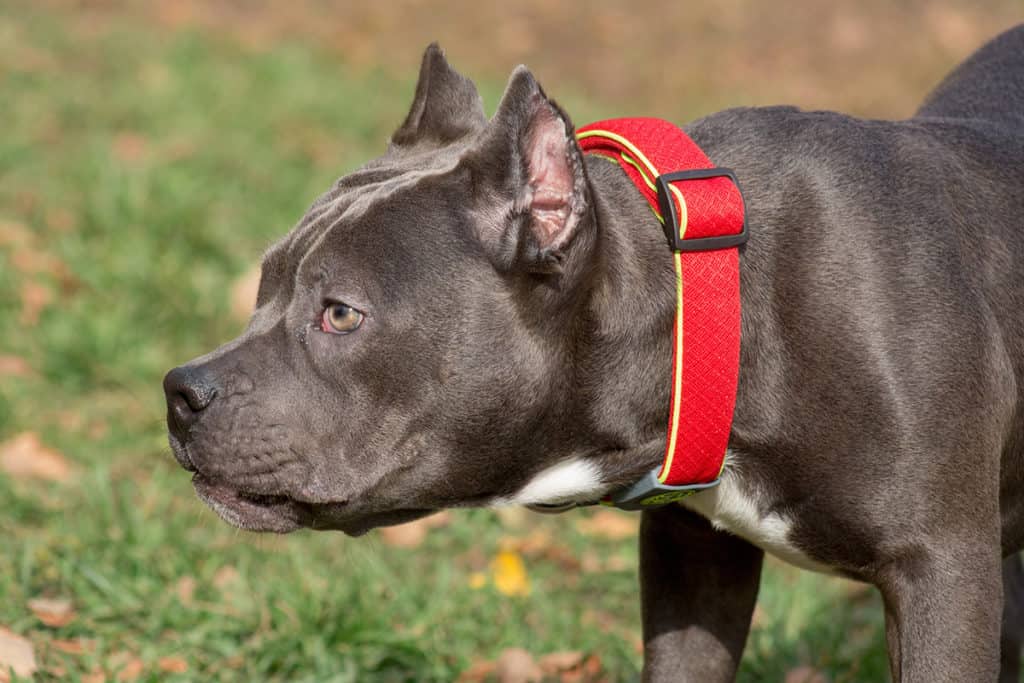
Though typically used for showing, a stack box can ensure your dog stands in the correct position. In doing so, you can help them with healthy body structure, reducing their likelihood of developing chronic pain and mobility issues.
But since these aren’t readily available in most stores, you might want to consider building one for yourself.
Here’s how to build a Bully stack box:
- Gather supplies, including a saw, drill, wood, and paint.
- Measure your dog and consider its growth over time.
- Measure the wood using your dog for guidance.
- Cut the wood into pieces.
- Build a rectangular frame.
- Add the footboards to the front and back.
- Finish and paint the stacking box.
A stacking box will help your sweet-natured companion remember where its feet should go through muscle memory. Keep reading for step-by-step instructions for building a stacking box.
1. Gather Supplies, Including a Saw, Drill, Wood, and Paint
For this DIY project, I used the following tools and supplies:
- Saw
- Drill
- Measuring tape
- Pencil
- Paintbrush
- 2×4 wood
- Wood screws
- Velcro
- Sanding block
- Primer and Paint
- Wood glue
- Wood filler
You’ll essentially be building a rectangular frame, so it’s not too difficult. The only thing to keep in mind is that it needs to be secure and steady. If it moves, your dog will not only have a hard time standing in place but it could be frightened and not want to continue with its training.
2. Measure Your Dog and Consider Its Growth Over Time
A stacking box should be longer than the length of your dog and a bit wider than its stance.
That said, if you choose to start stacking training with a puppy, remember to account for its growth. This is where the velcro comes in. Instead of building multiple boxes, just make one large enough for an adult dog and use velcro so you can adjust the size as the dog grows.
According to the American Bully Kennel Club, there are four different sizes of the American Bully:
- Standard – medium to large dog with a bulky body and broad head.
- Pocket – similar build to the Standard Bully, but slightly shorter. They’re usually under 17 inches (43 cm) tall.
- Classic – blocky heads with square jaws. They’re similar to Pocket Bullies but are usually leaner.
- XL – muscular and broad, the XL Bully male stands at over 20 inches (51 cm) high.
Before you go to your neighborhood hardware store to purchase wood, consider the size of your Bully. It’s better to have scrap wood left than realize you don’t have enough wood for a stacking box of an appropriate size.
I have an XL Bully, and he’s a rather big, heavily muscled dog. As mentioned, the XL Bully is, in fact, the largest of the American Bully family. The males typically stand at over 20 inches (51 cm) high, and the females are usually over 19 inches (48 cm) tall.
As you can imagine, his stacking box needed to be pretty substantial. Luckily, you can use your furry friend to help you make the measurements.
3. Measure the Wood Using Your Dog for Guidance
To find the appropriate measurements for your dog’s stacking box, follow these steps (have your pencil ready):
Hand Stack Your Bully Next to the Wood
To hand stack your dog, position it standing sideways in front of you. Its right side should be facing you while its head should be facing forward.
Next, set your Bully’s front feet in the position you want them by moving them at the elbow. Then reposition the rear legs by gently lifting each leg at the hook and placing it into position.
Mark the Wood
With your Bully now standing in a proper stance beside the wood, use the pencil to make a mark where you’ll later cut from the edge. I marked the length on one board and marked the width on another.
Remember the length and width of the stacking box should be longer and wider than your dog’s stance, respectively. So add a few extra inches before marking the wood.
You might need someone to help you with this step. So one person can measure while the other holds the dog in place.
Measure the Wood
To get the length and width of your stacking box, hook the tape measure over the edge of each board and read the measurement at the marking lines you made. If you land at, say, 20.8 inches (52.83 cm), you can round off to the nearest whole number, in this case, 21 inches (53.34 cm).
When you’re done, you should have two measurements.
The longer of the two will be the length, while the shorter one will be the width. To keep all your measurements consistently accurate, always keep the tape measure straight and use the same tape measure throughout the project.
Also, remember to add a few inches just to be safe.
4. Cut the Wood Into Pieces
The next step will be to cut the wood into the six pieces you need to make a stacking box.
You’ll need:
- Two long pieces which are longer than the length of your dog. They will make up the sides.
- Four short pieces which are wider than the width of your dog. They will be the end pieces to finish the frame and the pieces onto which your dog will stand.
After you’ve cut all six pieces of wood, use the sanding block to break the sharp edges. Softening the edges of the boards not only makes them more aesthetically pleasing but also makes them less likely to splinter.
If you don’t own a saw or would prefer not to spend your energy cutting through wood, get the appropriate measurements before going to the hardware store. Once you purchase the wood, ask them to cut it for you. After the first few cuts, the store may charge you, but it will still be cheaper than buying a saw you may never use again.
5. Build a Rectangular Frame
You’ll start by making the frame using the two long pieces and two of the short pieces.
When joining them, ensure you place the short pieces outside the long ones. If placed inside, the width of the stacking box will increase, meaning the boards that go on top won’t fit.
Check out this visual of a planter box to get an idea of how it should look. As you can see, the end section is 24 inches (60.93 cm) long, but with their placement, the gap in the middle is likely closer to 22 inches (55.88 cm). This will allow the final two pieces of wood to sit comfortably on the top edge of the longer sections.

To build the frame, follow the following steps:
Glue the Pieces Together
Use wood glue to secure one short piece to one of the long pieces, creating a butt joint. Apply pressure to the joint until it’s reasonably stable.
Repeat this until the frame is solid and snug.
I recommend Gorilla Wood Glue, which you can purchase from Amazon. It’s ideal for use on both hardwoods and softwoods and is water-resistant.
Drill Holes Through the Joint
You can predrilled the wood as it helps prevent the wood from splitting. If you predrill, ensure the pilot holes are the same size as the wood screws.
That said, you can drill into the joint once the glue has set.
You can use 2-1/2-in Bolt Dropper Oval Head Phillips Wood Screws from Amazon. They’re stainless steel screws, meaning they’re corrosion-resistant and highly durable.
Drive the Screws Into the Holes
Gently insert the wood screws into the holes until they hold, then drive them into the wood using the drill. The screw head should sit flush with or just below the wood’s surface.
Repeat these steps until you’ve finished making a rectangular frame.
6. Add the Footboards to the Front and Back
You now have two short pieces left. Attach the first piece either to the front of the box or a few inches below, with glue and screws.
Like you did with the frame, first drill pilot holes, then drive the screws into them.
Once the front footboard is in place, you can secure the back footboard to the back of the box in the same way. How far back it sits depends on where you want your Bully’s feet to be when it’s standing in the proper position.
As you can see in the following video, the footboards are in the middle to account for the puppy’s smaller stance. Chances are, they’re movable and will grow with the dog:
To make an adjustable stack box, use something like this VELCRO Extreme Outdoor Heavy Duty Tape from Amazon.com. I recommend Velcro because it’s water-resistant and applicable on all surfaces.
Apply the velcro strips to the long wooden sections and to the bottom of the footboards. That way, you can place them as you need.
7. Finish and Paint the Stacking Box
Sanding the stack box is a must to prevent splinters and to make it look nicer. It’s also needed if you want to paint it.
Use a clean, damp cloth to wipe off any excess glue, dirt, or debris.
Patch the screw holes with a liberal amount of wood filler, then smooth it until it’s level. Let the wood filler dry for at least 30-60 minutes. Once it’s dry, sand the wood filler smooth.
At this point, you can paint the stacking box. Remember to use an appropriate primer before painting and that it will need to be finished and painted before adding the velcro strips.
Conclusion
A stack box is a super simple project to do at home, and if you have the wood cut in the store, you need minimal supplies. The critical thing to remember is that you need a solid frame so your dog feels comfortable.
Once the frame is complete, be sure to attach the top pieces at the proper distance apart or make them adjustable if you want the box to grow with your pup.
Have fun and happy training!

I created this blog to share my passion for bullies, and help current and future pitbull owners with things like diet and education.
Hope you find it useful, don’t hesitate to drop a comment on my articles!

)